πŸ’‘ Expert tests, comparisons & guides β€’ DMX Β· Art-Net Β· RDM β€’ From club to theatre

Category: Buyer Guides

  • How Many DMX Universes Do You Need?

    How Many DMX Universes Do You Need?

    “How many DMX universes do I need?” is one of the most common β€” and most misunderstood β€” questions when sizing a console. Buy too few and you’re stuck; pay for too many and you’ve wasted budget. Here’s an honest, practical way to work it out.

    Where these takes come from

    A synthesis of recurring advice across English-speaking communities (r/lightingdesign, ControlBooth) and working operators. See also our what is a DMX controller primer.

    First, the basics

    One DMX universe = 512 channels. Each fixture uses a number of channels set by its mode/profile β€” a simple LED par might use 3–8, a feature-rich moving head can use 20–40+. Your universe count is driven by total channels, not by the number of fixtures alone.

    How to estimate your channel count

    1. List every fixture and the mode you’ll run it in.
    2. Multiply each fixture’s channel footprint by how many you have.
    3. Add them up β€” that’s your total channels.
    4. Divide by 512, then round up and add headroom for future fixtures and pixel content.

    Example: 12 moving heads at 24 channels = 288, plus 24 LED pars at 6 = 144, plus a few specials = ~470 channels β†’ one universe is nearly full. Add anything and you need a second. Pixel/LED tape content can explode channel counts fast, so plan generously.

    Console output vs licensed universes

    Two numbers matter and people confuse them:

    • Physical DMX outputs (XLR ports) on the console.
    • Total universes the console/software can process and output over the network (Art-Net/sACN), often far more than its XLR ports.

    Many modern consoles output a few universes over XLR but dozens over the network to nodes/gateways. Free software (ChamSys, Onyx, grandMA3 onPC) gives several free universes β€” see our software guide.

    Rough sizing by show type

    • Small bar / mobile DJ / simple par rig: 1 universe is usually plenty.
    • School / community theatre / small live: 1–2 universes.
    • Mid-size live / event with moving lights: 2–4 universes.
    • Large concert / festival / heavy pixel content: many universes β€” plan for network output and nodes.

    My honest take

    Count channels, not fixtures, round up, and buy headroom β€” rigs only ever grow, and pixel content eats universes fast. For most small shows one or two universes is enough; the moment you add lots of moving heads or pixels, think in network universes and nodes. Don’t over-buy hardware ports when free software plus a node may cover you. See our beginner guide and best console under $1,000.

    FAQ

    How many channels are in a DMX universe?

    512. Your universe count depends on total channels used by all fixtures in their chosen modes β€” not the fixture count alone.

    How do I work out how many universes I need?

    Add up every fixture’s channel footprint, divide by 512, round up and add headroom for growth and pixel content.

    Why do moving heads use so many universes?

    They use many channels each (often 20–40+), so a dozen of them can fill most of a universe on their own.

    Do I need physical DMX ports for every universe?

    No β€” most consoles output extra universes over the network (Art-Net/sACN) to nodes/gateways, well beyond their XLR ports.

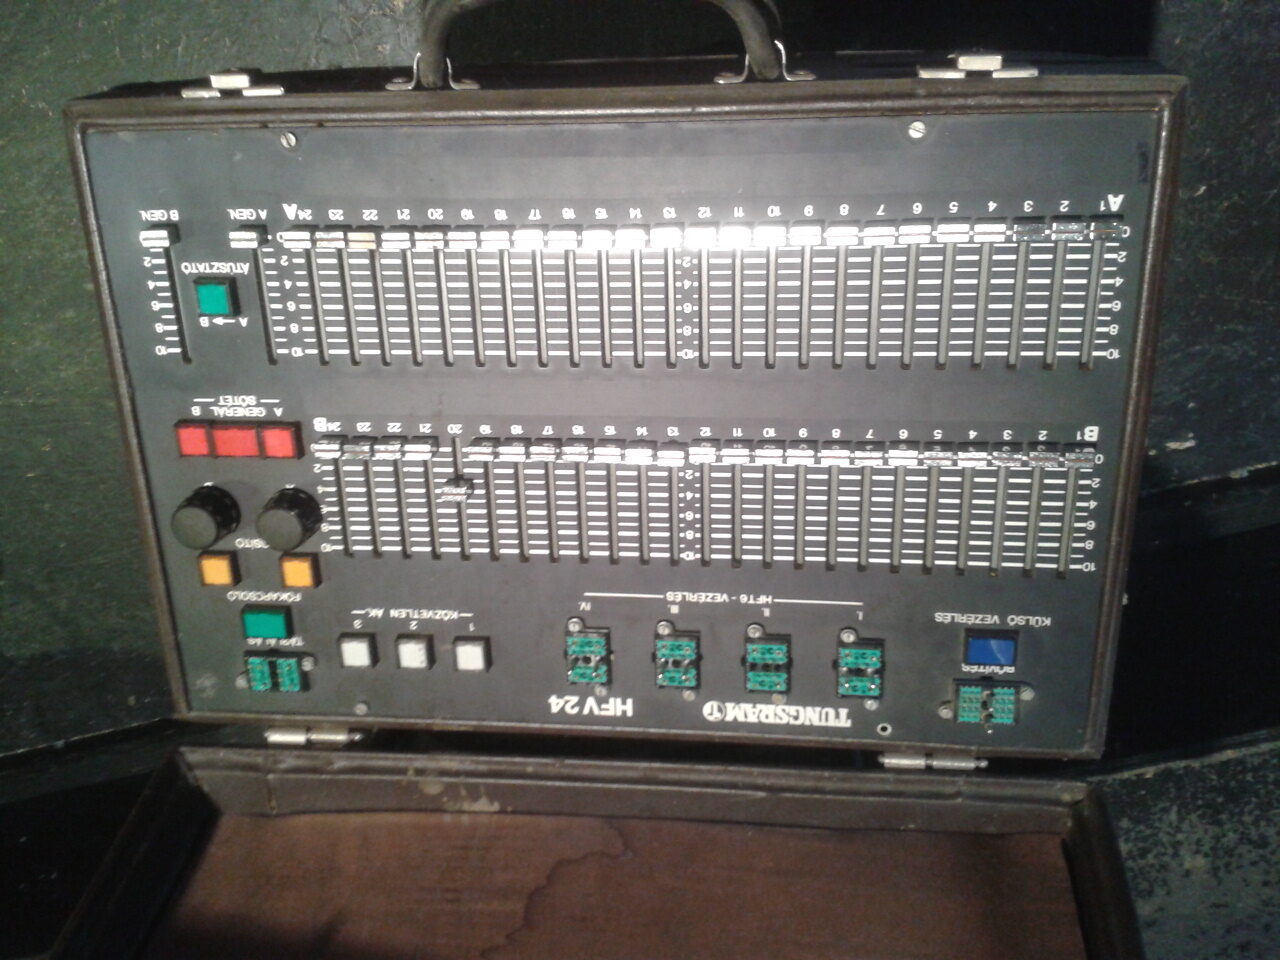
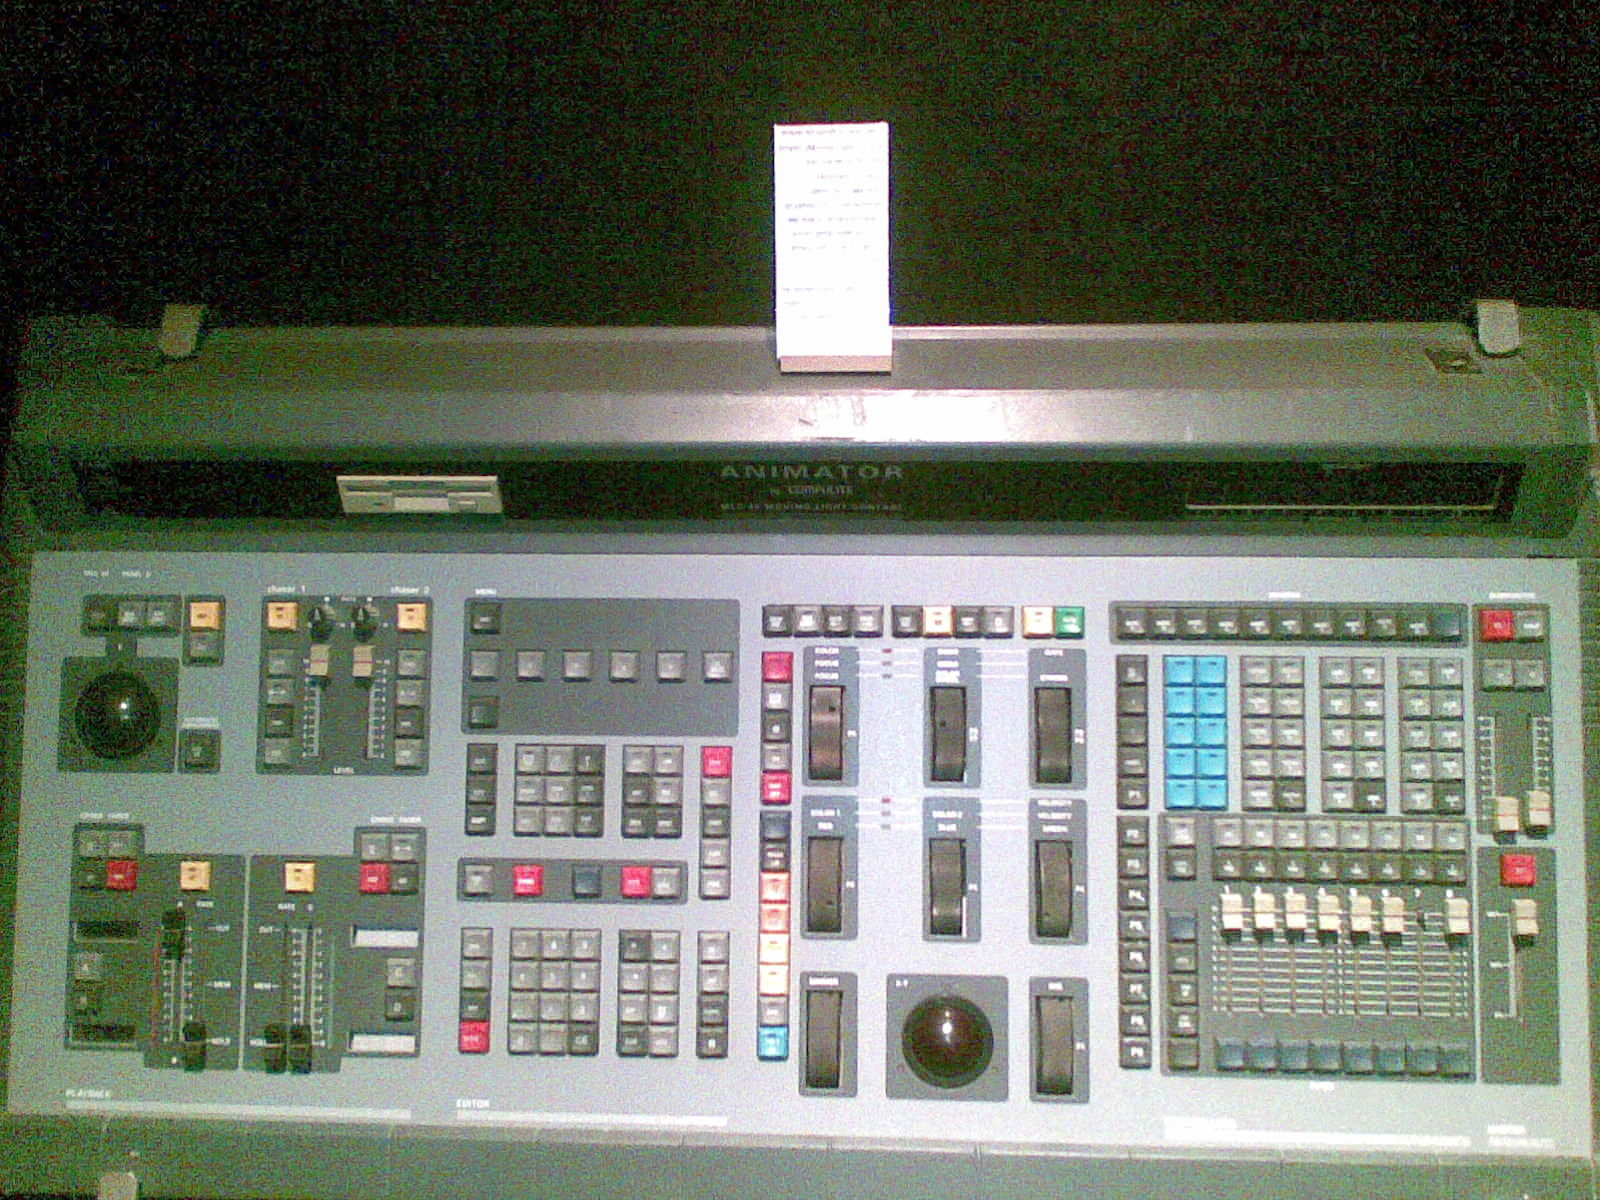
    Photo credit: Photo: Stage Lighting Museum / Dan Redler, CC BY-SA 3.0, via Wikimedia Commons
  • Common DMX Problems and How to Fix Them

    Common DMX Problems and How to Fix Them

    DMX is a brilliantly simple protocol β€” until a fixture flickers, a whole branch goes dark, or a moving head does the “DMX shimmy” for no obvious reason. The good news: the same handful of faults cause most problems. Here’s an honest field guide to what goes wrong and how operators fix it.

    Where these takes come from

    A synthesis of recurring troubleshooting advice across English-speaking communities (r/lightingdesign, ControlBooth) and working operators. See also our what is a DMX controller primer.

    1. No DMX terminator (the classic)

    The single most common cause of flicker and erratic moving lights: no terminator on the last fixture. A 120-ohm terminator plug stops signal reflections on the line. Symptoms β€” random flicker, jittery movement, intermittent fixtures β€” often vanish the moment you terminate. Always carry spare terminators.

    2. Wrong DMX address or overlapping fixtures

    If two fixtures share addresses they’ll mirror each other; if an address is wrong a fixture ignores you or responds oddly. Double-check every fixture’s start address and channel footprint (its mode/profile decides how many channels it eats). Address conflicts are a top cause of “why is that light doing its own thing?”

    3. The wrong cable

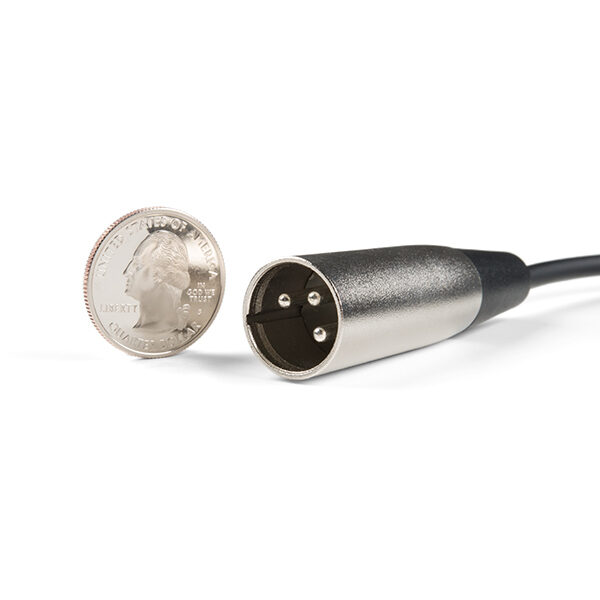
    Using microphone (audio) XLR cable instead of proper DMX cable works… until it doesn’t. Audio cable has the wrong impedance and causes intermittent, hard-to-trace faults on longer runs. Use real DMX cable, especially for anything beyond a few metres.

    4. Too many fixtures / too long a run

    DMX is limited to 32 devices per line and roughly 300 m total before signal degrades. Past that, add a DMX splitter/booster (opto-isolated) to start fresh branches. Splitters also protect your console from a faulty fixture feeding voltage back up the line.

    5. A single bad fixture or cable poisoning the chain

    One faulty fixture or a damaged cable can corrupt everything downstream. Bisect the line: unplug halfway, see which half recovers, and keep halving until you find the culprit. Carry known-good spare cables for swap-testing.

    6. Universe / patch mismatches

    On bigger rigs, check the fixture is on the universe your console is actually outputting, that the output node/gateway is mapped correctly, and that Art-Net/sACN settings (universe numbers, unicast/multicast) match end to end. See our DMX system guide.

    My honest take

    When DMX misbehaves, work the basics in order: terminator β†’ addresses β†’ cable type β†’ line length/splitter β†’ bisect for a bad device β†’ universe/patch. Nine times out of ten it’s a missing terminator, an address clash or the wrong cable. Carry spare DMX cable and terminators to every gig and you’ll fix most problems in minutes. See our beginner guide.

    FAQ

    Why do my DMX fixtures flicker?

    Most often a missing 120-ohm terminator on the last fixture, the wrong cable (audio instead of DMX), or a too-long/overloaded line. Terminate first.

    Do I really need a DMX terminator?

    Yes β€” on longer or larger rigs it prevents signal reflections that cause flicker and jitter. It’s the first thing to check.

    Can I use a microphone XLR cable for DMX?

    It may work short-term but has the wrong impedance and causes intermittent faults. Use proper DMX cable, especially over distance.

    How many fixtures can one DMX line handle?

    Up to 32 devices and around 300 m before you need an opto-isolated splitter/booster to start a fresh branch.

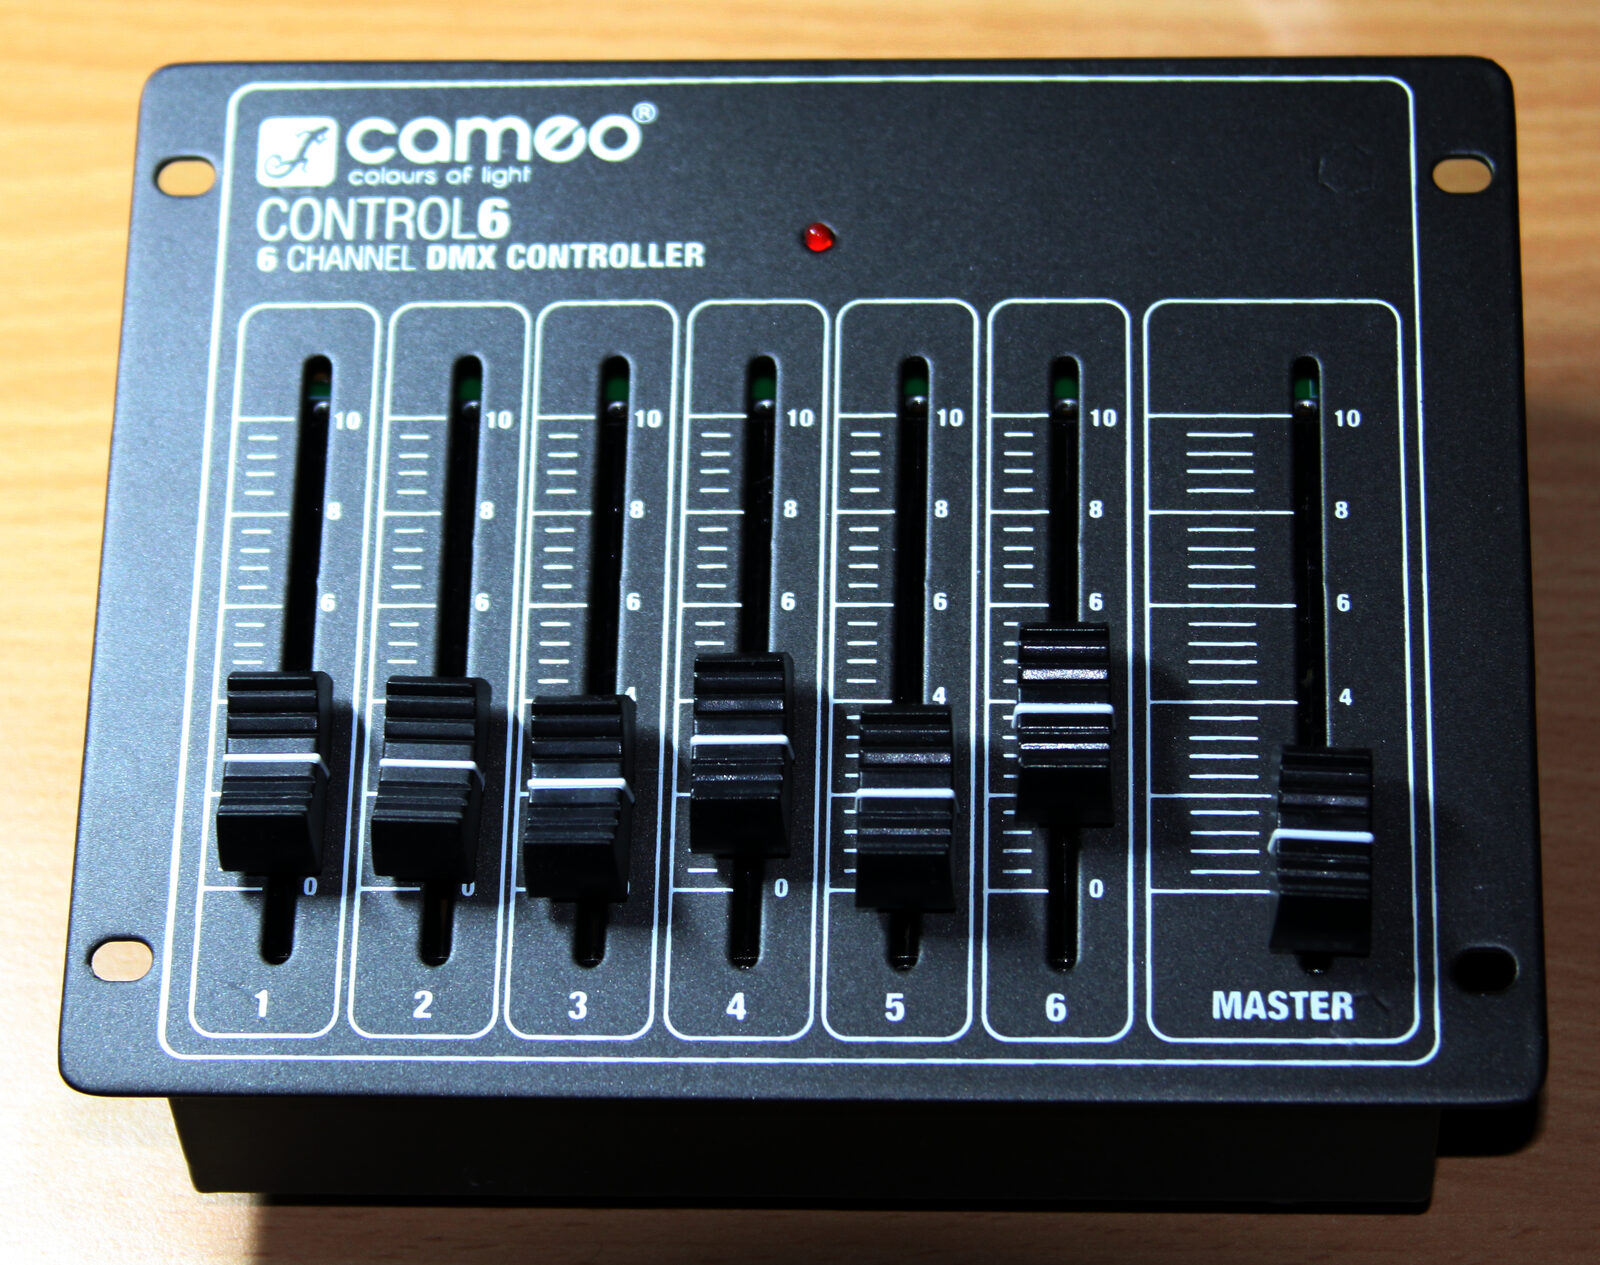
    Photo credit: Photo: SparkFun Electronics, CC BY 2.0, via Wikimedia Commons

  • Best Lighting Console Under $1,000 (2026)

    Best Lighting Console Under $1,000 (2026)

    What’s the best lighting console you can buy for under $1,000? The honest answer surprises people: your most powerful option at this price often isn’t a console at all β€” it’s free software plus an interface. But if you want hardware faders and buttons, there are real picks too. Here’s an honest round-up.

    Where these takes come from

    A synthesis of recurring recommendations across English-speaking communities (r/lightingdesign, ControlBooth) and budget-minded operators. See also our best console for beginners and budget DMX controller guides.

    The most powerful option: free software + a wing

    For raw capability per dollar, nothing beats free console software plus an affordable hardware wing or USB-DMX interface:

    • ChamSys MagicQ + an MQ wing or USB interface β€” huge power, big community. See our MagicQ review.
    • Obsidian Onyx + a small NX wing β€” approachable and capable. See our Onyx review.
    • grandMA3 onPC + a command wing β€” learn the touring standard. See our grandMA3 review.

    You run moving lights, effects and multiple universes β€” things no sub-$1,000 hardware-only controller can match.

    If you want a real hardware console

    Theatre / education

    The Zero 88 FLX S range is a long-standing favourite for being easy and affordable β€” a genuine small console rather than a basic controller.

    Live / events

    Entry ChamSys (QuickQ / MQ50) and small Obsidian NX consoles bring real power at accessible prices and grow with you.

    What to avoid at this budget

    1. Basic controllers if you have moving heads

    A cheap Chauvet Obey or 192-channel box is fine for simple par cans, but painful with moving lights β€” see our budget controller guide.

    2. Spending on hardware before you know your sector

    Learn on free software first; you’ll choose far better hardware once you understand your workflow.

    My honest take

    Under $1,000, your smartest buy is usually free software (ChamSys, Onyx or grandMA3 onPC) plus an affordable wing or interface β€” it out-powers any hardware-only controller at this price. If you specifically want a self-contained console, the Zero 88 FLX S (theatre) or entry ChamSys/Obsidian (live) are the standouts. Choose by sector, not by spec sheet. See our beginner guide.

    FAQ

    What’s the best lighting console under $1,000?

    For most people, free software (ChamSys/Onyx/grandMA3 onPC) plus an affordable wing or USB-DMX interface β€” it out-powers hardware-only controllers at this price. For a self-contained desk, the Zero 88 FLX S or entry ChamSys/Obsidian.

    Is software really better than a cheap console?

    For moving lights and effects, yes β€” free software plus an interface gives far more capability than a sub-$1,000 hardware-only controller.

    Which hardware console is best for theatre on a budget?

    The Zero 88 FLX S is a favourite for being easy, affordable and a real console rather than a basic controller.

    Should I buy hardware or learn software first?

    Learn on free software with a cheap interface first; you’ll choose better hardware once you know your sector and workflow.

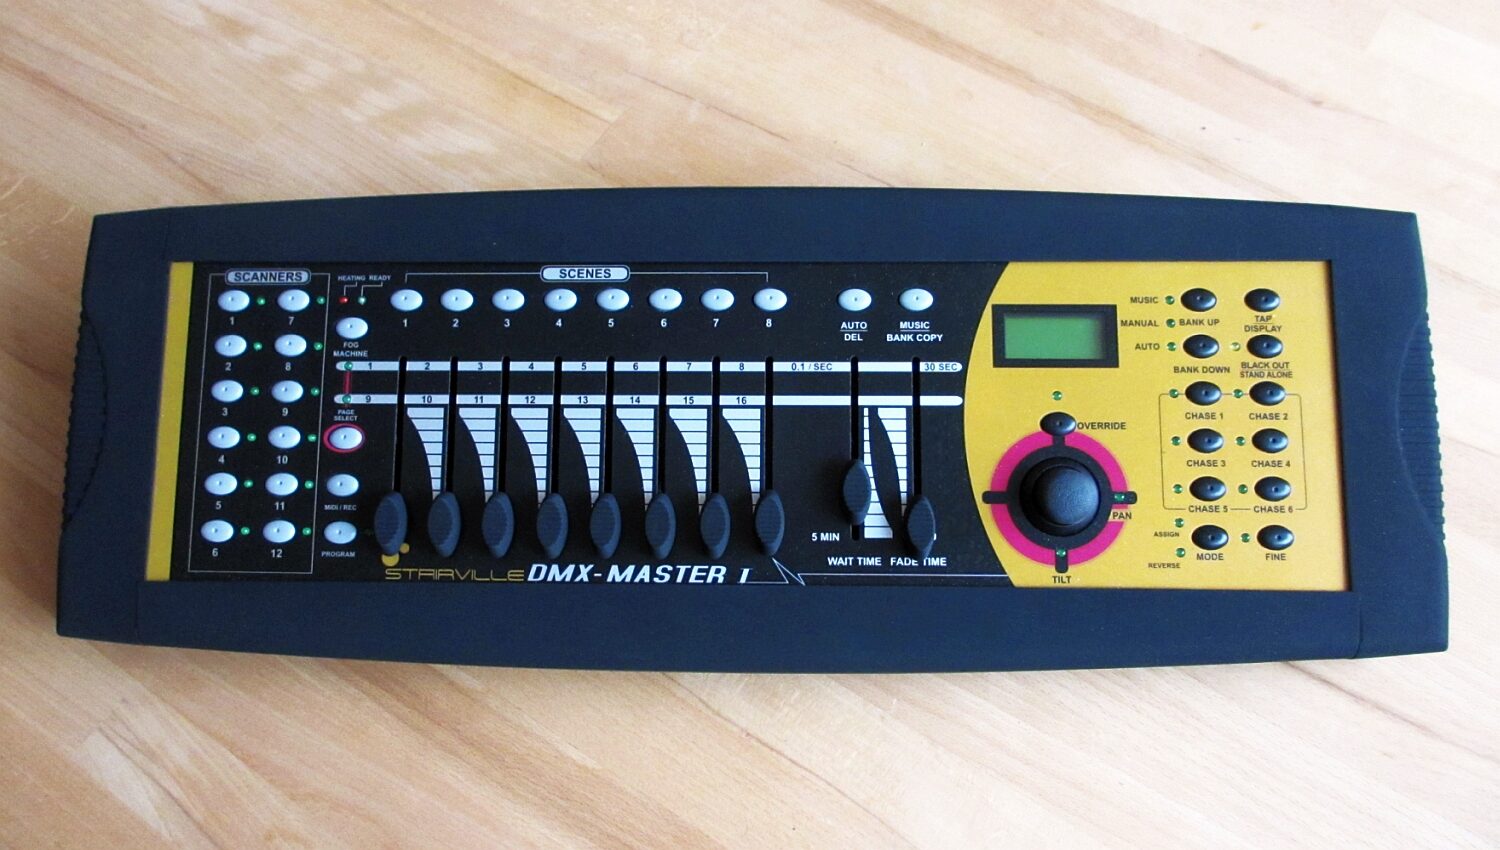
    Photo credit: Photo: Beyond silence, CC0, via Wikimedia Commons

  • Best Budget DMX Controller: What to Buy (and When to Upgrade)

    Best Budget DMX Controller: What to Buy (and When to Upgrade)

    If you just need to control a handful of DMX fixtures on a tight budget, a simple hardware controller can get you going for very little. But there’s a catch the forums repeat constantly: you’ll outgrow a basic controller fast. Here’s an honest round-up of what to buy, and when to step up.

    Where these takes come from

    A synthesis of recurring recommendations across English-speaking communities (r/lightingdesign, ControlBooth) and budget-minded operators. See also our what is a DMX controller primer.

    When a simple controller is enough

    A basic hardware controller makes sense if you have a few fixtures, mostly static or simple looks, and want plug-and-play with no computer. Typical picks include the Chauvet Obey series, ADJ DMX Operator units and generic “192-channel” controllers.

    What owners actually report

    1. Basic controllers struggle with moving lights

    The most repeated warning: cheap controllers are painful (or impossible) for moving heads, pixel effects and anything complex. They’re built for simple par-can style control.

    2. Limited programming and recall

    Scene/chase storage is basic; you’ll quickly hit the ceiling as your rig grows.

    3. Build is entry-level

    Functional, but not gig-tough at the cheapest end.

    4. The smarter “budget” move

    A recurring tip: for similar money, free software (ChamSys or Onyx) plus a cheap USB-DMX interface gives vastly more capability β€” including moving lights and effects β€” than a basic hardware controller.

    Simple controller vs free software

    If you truly want no computer and only simple control, a basic controller is fine. But if you have (or will have) moving lights, the software route wins decisively. See our DMX software guide and our best console for beginners.

    My honest take

    For a few simple fixtures with no computer, a basic Chauvet/ADJ-style controller is a cheap, cheerful start. But the moment moving lights or effects enter the picture, free software plus a USB-DMX interface is the better budget buy β€” more power, and room to grow. Don’t spend twice.

    FAQ

    What’s the best budget DMX controller?

    For simple, static fixtures with no computer, basic Chauvet Obey or ADJ DMX Operator units work. For more, free software plus a USB-DMX interface is better value.

    Can a cheap controller run moving lights?

    Poorly β€” basic controllers struggle with moving heads and effects. Use software/a console for those.

    Is free software better than a budget controller?

    For anything beyond simple looks, yes: ChamSys or Onyx plus a cheap interface gives far more capability for similar money.

    When should I move up to a console?

    Once you have moving lights, want effects, or need reliable scene/cue recall β€” that’s the time to go software or a proper console.

    Photo credit: Photo: Morn, CC BY-SA 4.0, via Wikimedia Commons

  • Best Lighting Console for Beginners (2026)

    Best Lighting Console for Beginners (2026)

    What’s the best lighting console for a beginner? The great news: you can start learning serious lighting control for free, then buy hardware once you know what you need. Here’s an honest round-up of what operators and teachers recommend for someone starting out.

    Where these takes come from

    A synthesis of recurring recommendations across English-speaking communities (r/lightingdesign, ControlBooth) and educators. See also our what is a DMX controller primer.

    Start with free software (the universal advice)

    The number-one tip for beginners: download free console software and learn at home with a cheap USB-DMX interface before buying hardware. The leading free options:

    • ChamSys MagicQ β€” full-featured, big community, free DMX universes. See our MagicQ review.
    • Obsidian Onyx β€” free, approachable, NX hardware path. See our Onyx review.
    • grandMA3 onPC β€” learn the industry-standard touring desk for free. See our grandMA3 review.
    • ETC Nomad β€” learn the theatre standard for free.

    Then pick a console by your sector

    Theatre / education

    The Zero 88 FLX (and FLX S) is easy and affordable; ETC Eos (Element/Ion) is the bigger theatre standard.

    Live / events / clubs

    ChamSys (MQ50/MQ70) and Obsidian NX offer the most power for the money and busking-friendly workflows.

    Aiming at touring

    Learn grandMA3 onPC now β€” it’s the rider standard you’ll meet on big shows.

    What beginners should avoid

    1. Buying expensive hardware too early

    Learn on free software first; you’ll choose better hardware once you understand your workflow and sector.

    2. Ultra-basic controllers if you have moving lights

    Simple hardware controllers struggle with moving heads and effects β€” software/consoles handle them far better (see our budget DMX controller guide).

    My honest take

    For most beginners: learn on free software (ChamSys, Onyx, grandMA3 onPC or Nomad) with a cheap DMX interface, then buy a console that matches your sector β€” Zero 88/ETC for theatre, ChamSys/Onyx for live, grandMA for touring ambitions. It’s the cheapest, smartest way to start.

    FAQ

    What’s the best lighting console for beginners?

    Start with free software (ChamSys, Onyx, grandMA3 onPC, ETC Nomad), then buy by sector: Zero 88/ETC for theatre, ChamSys/Onyx for live.

    Do I need to buy hardware to learn?

    No β€” free software plus a cheap USB-DMX interface lets you learn and even run small shows.

    Which console for a school or community theatre?

    The Zero 88 FLX is a favourite for being easy and affordable; ETC is the larger theatre standard.

    Which to learn for a touring career?

    grandMA3 (onPC is free) β€” it’s the rider standard on big tours and festivals.

    Photo credit: Photo: JD, CC BY-SA 4.0, via Wikimedia Commons

  • Essential accessories for your lighting console

    Essential accessories for your lighting console

    As an Amazon Associate I earn from qualifying purchases.

    Beyond the console itself, a handful of accessories make your DMX rig more reliable and save you plenty of grief on the gig. None of them are glamorous, but any working operator will tell you that shows are lost to a bad cable or a missing terminator far more often than to the desk itself. Here are the essentials worth keeping in every road case, roughly in the order they earn their place. For the bigger picture on control gear, see our professional DMX lighting controllers guide.

    1. A DMX terminator

    At the end of the data chain, this plug (a 120 Ω resistor across the signal pair) absorbs the signal and prevents the reflections that cause flicker and erratic behavior. It’s the first thing to try when a rig “glitches for no reason” β€” intermittent flicker, fixtures twitching, a moving head that occasionally jumps. On short runs indoors you may get away without one, but on long lines or a large rig it’s the difference between a rock-solid link and a night of chasing ghosts. Keep a couple in the case; they’re cheap insurance. See DMX terminators.

    2. A DMX splitter / booster

    To split one universe across several lines, electrically isolate the branches and regenerate the signal over long runs or large rigs. A powered splitter (often called an opto-splitter) does two jobs at once: it buffers the data so a fault on one branch doesn’t take down the others, and it re-clocks a signal that has degraded over distance. That isolation is genuinely protective β€” a short in one fixture leg stays contained instead of killing the whole chain. Anytime you fan out from the console to multiple parts of the stage, a splitter belongs at the split point. See DMX splitters.

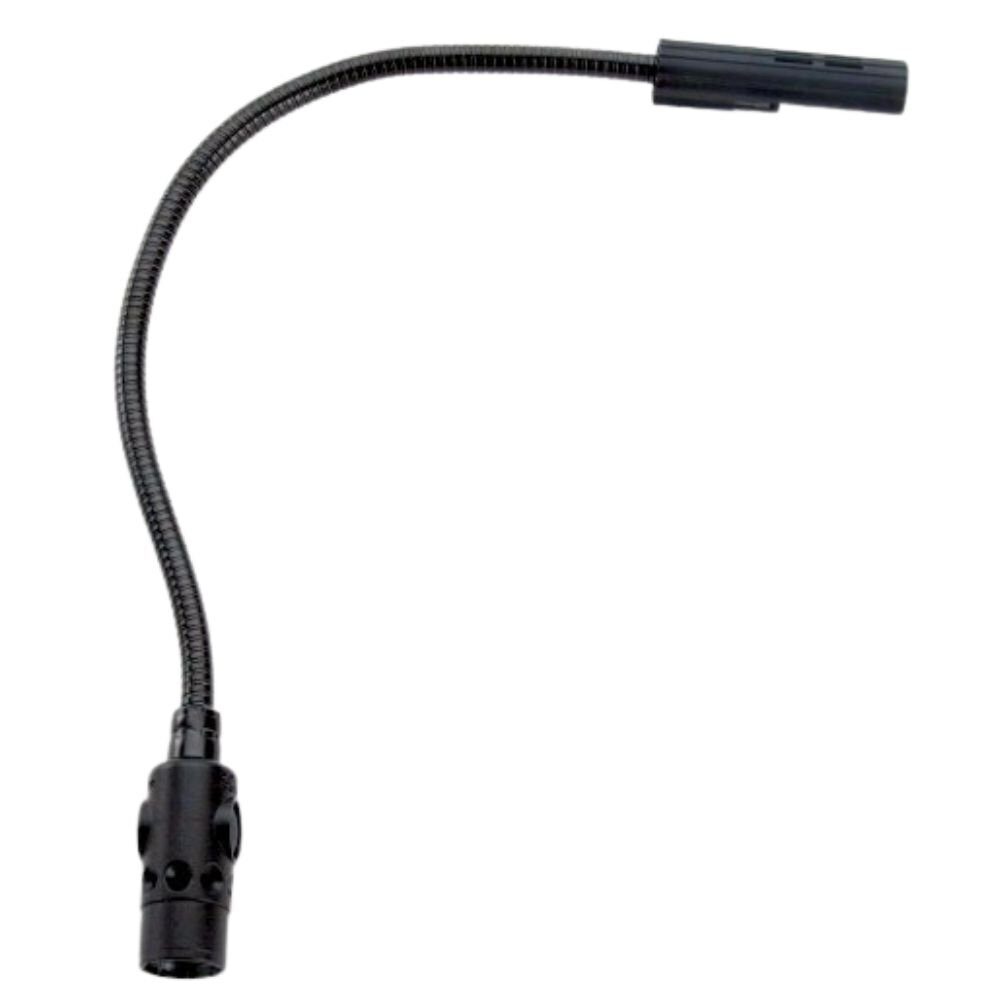
    3. A USB gooseneck lamp

    To read the console and your labels in the dark of the booth, without lighting up the room or spilling onto the stage. A dimmable gooseneck that plugs straight into the desk’s USB port keeps your hands free and your eyes on the faders. Warm, low-level light preserves your night vision far better than a phone screen, and a flexible neck lets you aim it exactly at the surface you’re working without glare bouncing back at you. See USB gooseneck lamps.

    4. A dust cover

    To protect the console from dust between gigs, alongside the flight case. Faders and encoders are exactly where grit does the most damage, and a fitted cover is the cheapest way to keep a desk feeling new for years. Even in a permanent install, a cover slipped over the surface at the end of the night keeps dust, drink spills and curious fingers off the controls. Think of it as the everyday layer of protection that complements β€” not replaces β€” a proper case for transport. See dust covers.

    5. Spare DMX cables

    A cable that fails mid-show quickly brings everything to a halt, so always keep a few lengths in reserve. Proper DMX cable is not the same as a microphone lead β€” it’s built to the correct impedance for data β€” and mixing the two is a classic cause of intermittent faults. Carry a range of lengths, test them before they go in the case, and label the suspect ones so a marginal cable never sneaks back into a critical run. See DMX cables.

    What next?

    Prioritize by what actually stops shows. Terminator and spare cables come first, because they protect the signal itself; then a splitter for isolation and long runs; then the gooseneck and cover for comfort and protection depending on the size of your rig. Build the kit gradually and you’ll find each piece pays for itself the first time it saves a cue. A little discipline pays dividends here: test every cable and terminator before it goes back in the case, keep the spares clearly separated from the suspect items, and store the whole kit together so nothing is missing when you’re loading in under time pressure. None of this gear is expensive next to the console, yet it’s exactly what keeps a show on its feet when something inevitably fails. When you’re ready to think about the desk at the center of it all, our buyer’s guide covers the full picture.

    Photo credit: LittLite

  • Flight case for a lighting console: how to choose

    Flight case for a lighting console: how to choose

    As an Amazon Associate I earn from qualifying purchases.

    A lighting console is a fragile investment that travels: between gigs, a flight case isn’t a luxury but insurance. Faders, encoders and touchscreens are the first things to fail when a desk is thrown in a van loose, and a replacement fader bank or cracked screen costs far more than the case would have β€” to say nothing of the show you can’t run while the desk is away for repair. Here’s how to choose well.

    Why a flight case?

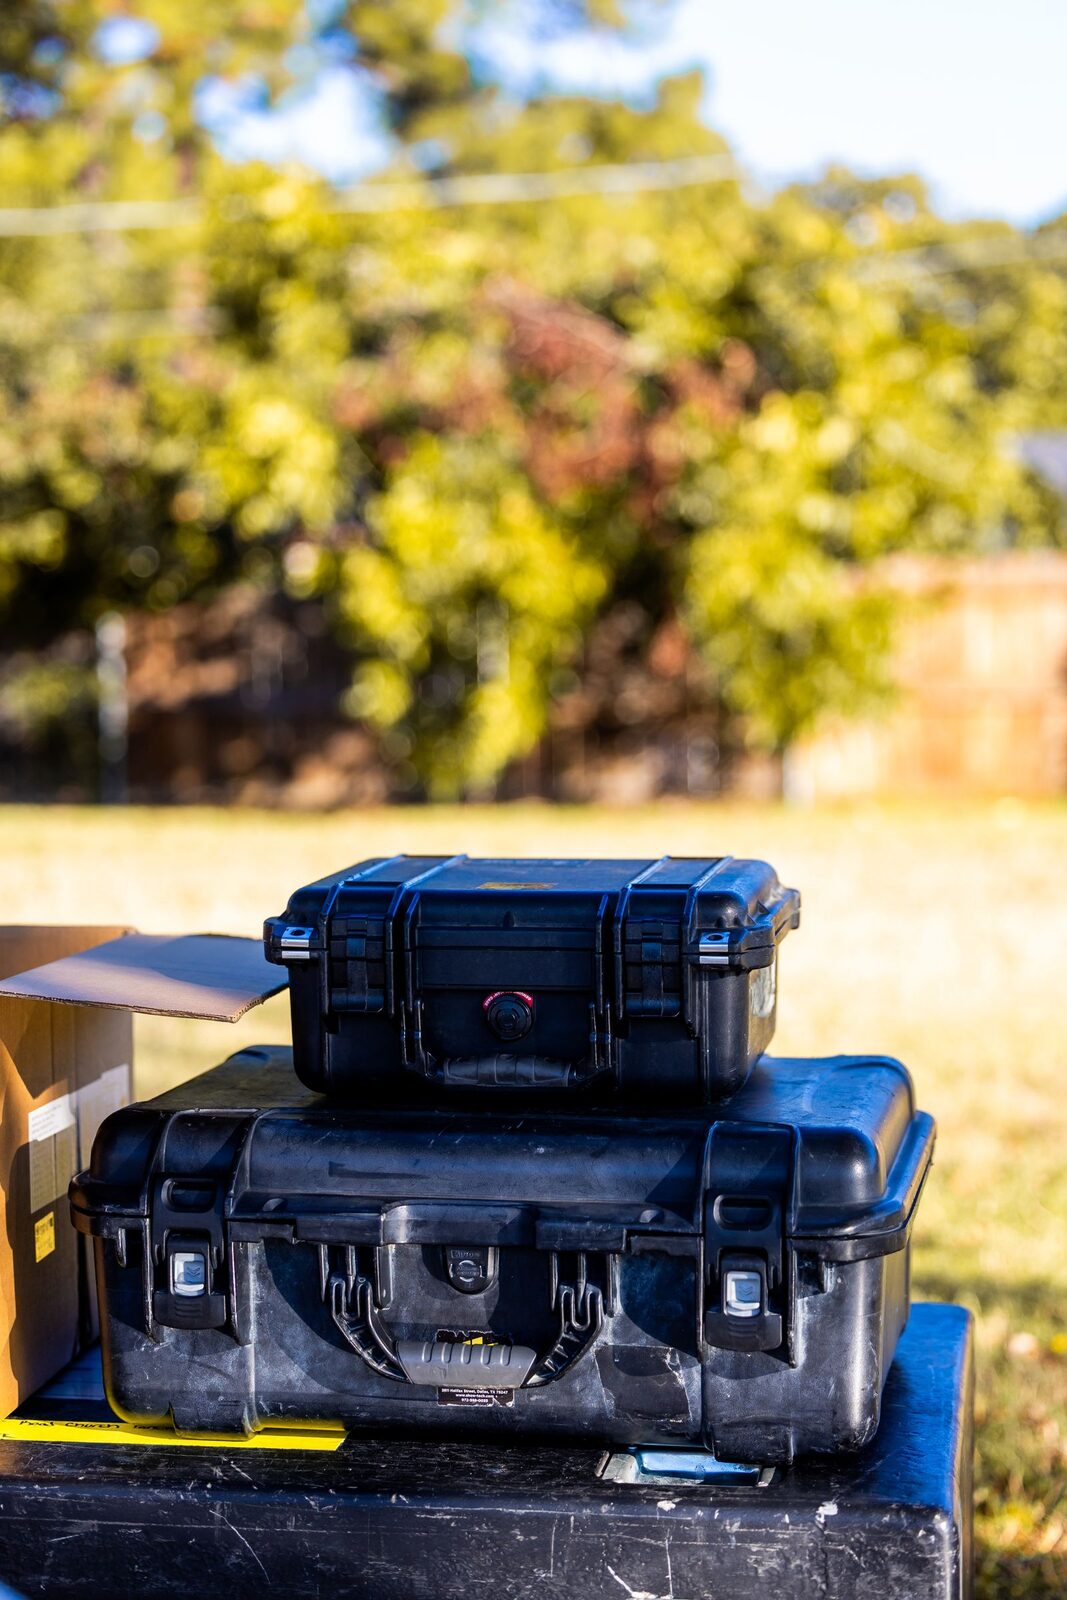
    Faders, encoders and screens hate knocks and dust. A rigid flight case protects the console in transport and storage, where a simple cover no longer cuts it once you’re touring. It also protects the show: a desk that arrives with a dead encoder or a shattered screen can stop a get-in cold, and few venues keep a spare. Think of the case as part of the console, not an accessory β€” the same way you’d never ship a camera body without one. See flight cases on Amazon.

    Custom foam or universal

    • Custom case: foam cut to the console model, perfect fit β€” ideal if your model is catalogued. The desk sits in a shaped bed that holds it against shock from every direction, and there’s no movement to work connectors or faders loose in transit.
    • Universal pick-and-pluck foam case: pull out the cubes to fit any shape. Versatile and cheaper, and the obvious choice if your console isn’t a common catalogued model or if you move different gear from job to job.

    The details that matter

    For larger consoles, wheels and reinforced handles are a game-changer β€” a full-size desk in a case is genuinely heavy, and castors save backs and get-in time. Check the butterfly latches, metal corners and, if needed, a front lid that frees access to the faders without unpacking everything. Recessed handles and latches survive stacking better than protruding hardware, and a removable lid over the playback surface lets you patch and pre-programme with the desk still in its case.

    Protect the screen and the connectors

    The two most expensive things to replace on a modern console are the touchscreen and the connector panel. Good foam should support the screen without pressing on it, and the case should leave the rear connectors protected but accessible β€” a lid that closes onto plugged-in cables is asking for a bent connector. If your desk lives on a wing or has an external monitor, make sure they travel in the same protected package rather than loose in the truck.

    Rack format for small surfaces

    Compact controllers or nodes can live in a small rack or a rigid case in a laptop format. For a control wing, a USB-DMX interface and a laptop, a padded hard case or a shallow rack drawer keeps the whole control package together and protected, so you grab one case and know the entire control chain is inside. Compare flight cases on Amazon.

    Buying checklist

    • Fit β€” snug enough that the desk can’t shift, with foam supporting the screen and faders.
    • Build β€” plywood or ABS shell, metal corners, quality butterfly latches.
    • Mobility β€” castors and solid handles on anything full-size.
    • Access β€” a front or top lid if you want to work the desk in the case.
    • Weight β€” a heavier case protects more but costs you at the loading dock; balance the two for how you actually travel.

    FAQ

    Is a soft bag enough?

    For occasional, careful transport of a small controller, maybe. For anything that tours or ships in a van with other gear, a rigid case is the only real protection for faders and screens.

    Custom or universal foam?

    Custom if your model is catalogued and you keep the same desk; universal pick-and-pluck if you move mixed gear or an uncommon console.

    Do castors really matter?

    On a full-size desk, absolutely β€” a loaded case is heavy, and wheels save both your back and precious minutes at every get-in and load-out.

    Photo credit: Pexels

  • Which DMX cables should you choose?

    Which DMX cables should you choose?

    As an Amazon Associate I earn from qualifying purchases.

    The DMX cable links your console to the fixtures: it carries the lighting commands that set every intensity, colour and movement in the rig. Get it wrong and you get flicker, addresses that drop out and faults that seem to appear from nowhere. Get it right and the data path simply disappears from your list of worries. Here’s how to choose the right cable, why it matters more than most people expect, and how to avoid the faults that ruin a show.

    A DMX cable is not a mic cable

    This is the single most important point, and the most commonly ignored. DMX512 is a digital protocol. It requires a true DMX cable (110 Ξ© impedance), not a mic/audio XLR cable: the impedance mismatch causes transmission errors, especially over long runs and with many fixtures. A microphone cable is built for balanced analogue audio at a completely different impedance, and while it may appear to “work” on a short run with two fixtures, it degrades the signal in ways that only show up when the rig grows or the venue warms up. That is exactly the kind of fault that appears on the show and not in the shop. See DMX cables on Amazon.

    3-pin or 5-pin?

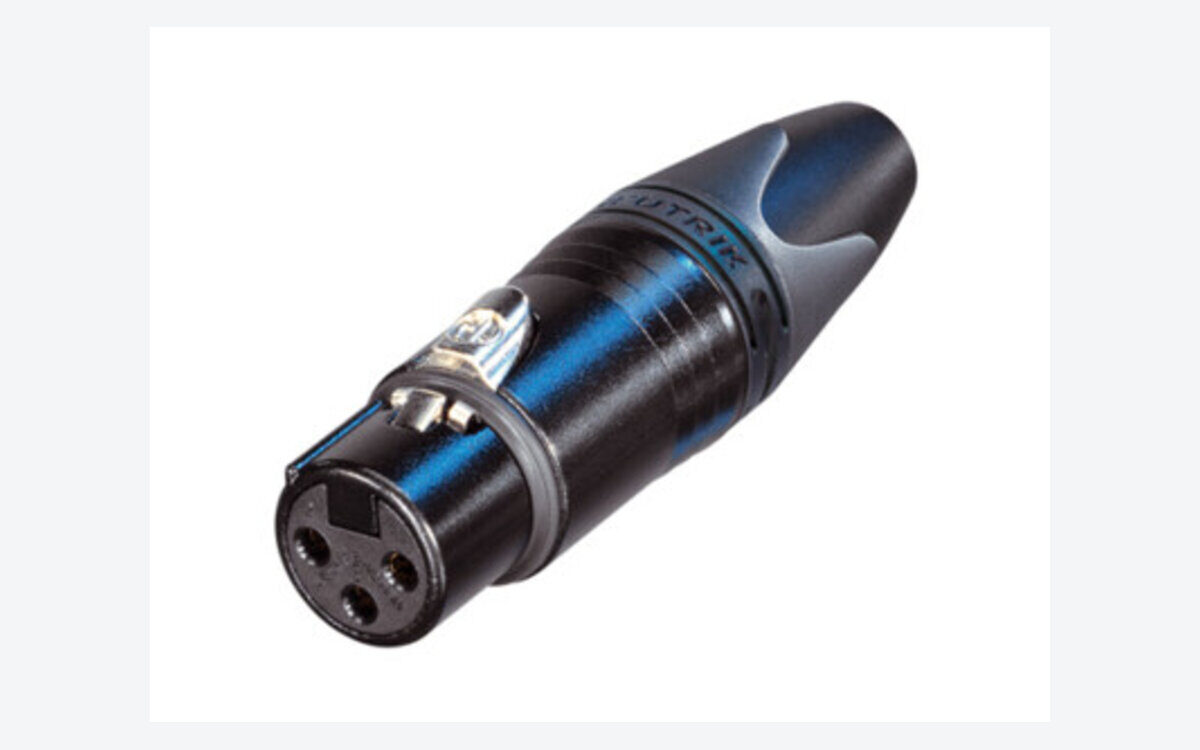
    The official standard is 5-pin, but much gear uses 3-pin. In the 5-pin standard, pins 4 and 5 are reserved for a second data pair that almost nothing uses in practice, which is why manufacturers of moving heads, LED washes and dimmers so often ship 3-pin connectors instead. Check the connectors on your fixtures and console before you buy; 3↔5-pin adapters exist and belong in every kit, so a 5-pin console can still feed a 3-pin fixture and vice versa without a last-minute panic.

    Quality, shielding and gauge

    Favour reliable connectors (Neutrik) and good shielding. A properly shielded cable rejects the electrical noise thrown off by dimmers, motors and power runs sharing the same truss β€” noise is a frequent, invisible cause of “random” DMX faults. Heavier-gauge conductors hold the signal better over distance and survive the repeated coiling and stamping of touring life. Cheap moulded cables with thin conductors and minimal shielding are a false economy the first time a connector pulls out mid-show, and they are almost impossible to repair in the field.

    Length and how to run it

    Choose lengths as tight as possible and daisy-chain the fixtures rather than running many long parallel lines. DMX is designed as a single chain from the console out to each fixture and on to the next, not as a star of long individual runs. Keep a single physical chain within sensible limits β€” the standard allows long total runs, but real-world reliability drops as you push distance and fixture count, so split with a powered splitter/booster before you get into trouble rather than after. On a large rig, moving to a network node and outputting DMX close to the fixtures is often more reliable than a very long copper run.

    Don’t forget the terminator

    At the end of the DMX chain, a terminator (120 Ξ© plug) prevents signal reflections that cause random glitches β€” a classic lighting fault. Without one, the signal bounces back down the line and collides with fresh data, producing the intermittent flicker and dropped addresses that are almost impossible to diagnose in the moment. It is the cheapest insurance in the rig, and the first thing to fit when a chain “misbehaves for no reason.” Compare DMX cables on Amazon.

    A quick troubleshooting checklist

    • Flicker or dropouts? Fit a terminator, then check for a mic cable that has crept into the chain.
    • One fixture misbehaving? Swap its cable first β€” a single bad conductor or connector is the usual culprit.
    • Intermittent faults as the show warms up? Suspect a marginal connector or a cable run alongside power.
    • Big rig acting up? Split the universe with a powered splitter to isolate and regenerate the branches.

    FAQ

    Can I use a mic cable for DMX in a pinch?

    It may work on a very short, small rig, but it is not reliable: the impedance is wrong, and the risk of flicker and dropouts rises with length and fixture count. Carry proper DMX cable.

    Do I always need a terminator?

    On any chain of more than a couple of fixtures, yes β€” it’s the simplest fix for reflection-based glitches and costs almost nothing.

    Are more expensive cables really worth it?

    The connectors and shielding are what you’re paying for, and both directly affect reliability on the night. A mid-range cable with Neutrik ends and solid shielding is worth far more than the cheapest moulded option.

    Photo credit: Neutrik